

Welcome to the wonderfully creative world of free-motion quilting! If you've ever dreamt of adding that gorgeous, flowing texture to your quilts, you're in the right place. The best free motion quilting patterns for beginners are the ones that help you build muscle memory and confidence—think classic meanders, playful loops, and simple pebbles.
This guide is your friendly roadmap to getting started, minus all the overwhelm.
Your Starting Point For Free Motion Quilting
Ever feel trapped by the straight and narrow of your walking foot? Free-motion quilting (FMQ) is your creative escape, letting you literally "draw" with your sewing machine.
The big shift here is that you drop the machine's feed dogs—those little teeth that normally pull your fabric through. Instead, you become the one in charge, guiding the quilt sandwich freely under the needle. This simple change gives you total control to create graceful curves, fun swirls, and any design you can dream up.
Think of it like doodling with thread. Your machine's only job is to move the needle up and down; your job is to move the fabric. It’s a complete game-changer that opens up a universe of possibilities, turning a simple quilt top into a true work of art.
Setting Up For Success
Before you even think about putting needle to fabric, a little prep work will make a world of difference. A smooth, frustration-free experience starts with setting up your space and your machine correctly. This means creating a slick surface for your quilt to glide on and choosing forgiving materials that won't fight you every step of the way.
Getting your setup dialed in is half the battle. To help you get started, here's a quick checklist of the non-negotiables.
Essential FMQ Setup Checklist
| Tool or Setting | Why It's Important | Beginner Tip |
|---|---|---|
| Darning/FMQ Foot | This foot hovers over the fabric, so it doesn't get pulled up with the needle. It's a must-have! | Make sure it's installed correctly. It shouldn't be pressing down hard on your quilt sandwich. |
| Quilting Gloves | The grippy fingertips give you incredible control and reduce hand and shoulder strain. | Look for a pair that fits snugly but isn't too tight. You want to be able to feel the fabric. |
| Slick Surface | A quilting-specific slider mat or even a polished tabletop helps the quilt glide effortlessly. | If you don't have a slider, give your machine's extension table a good polish with furniture wax. |
| Drop Feed Dogs | Disengaging the feed dogs is what allows you to move the fabric in any direction. | Find the lever or switch on your machine. If you can't find it, check your manual—it's there! |
| Set Stitch Length to 0 | Since you control the stitch length with your movement, setting the machine to zero is the standard. | This reminds the machine to just go up and down, leaving the "how far" part entirely up to you. |
Taking a few minutes to get these elements in place will save you a ton of headaches later. It’s all about making the process as smooth and enjoyable as possible.
When you’re just starting, a forgiving batting is your best friend. I always recommend an 80/20 cotton-poly blend for beginners. It has a stable, reliable structure and just enough loft to make your stitches pop without being a pain to handle. For a full breakdown, check out our guide on essential quilting supplies for beginners.
Your primary goal at the start is to build rhythm and confidence. Forget about perfection. Right now, it's all about smooth, continuous movement. Every practice sandwich is a step toward mastery.
It's no surprise the global quilting market has exploded, with free-motion quilting quickly becoming a favorite technique for newcomers. Thanks to countless online tutorials, learning has never been more accessible. Experts often say that with a little daily practice, you can see a massive improvement in as little as two months.
To see these techniques in action, you can find a huge variety of beginner-friendly video lessons on platforms like YouTube. Watching someone else do it can make all the difference
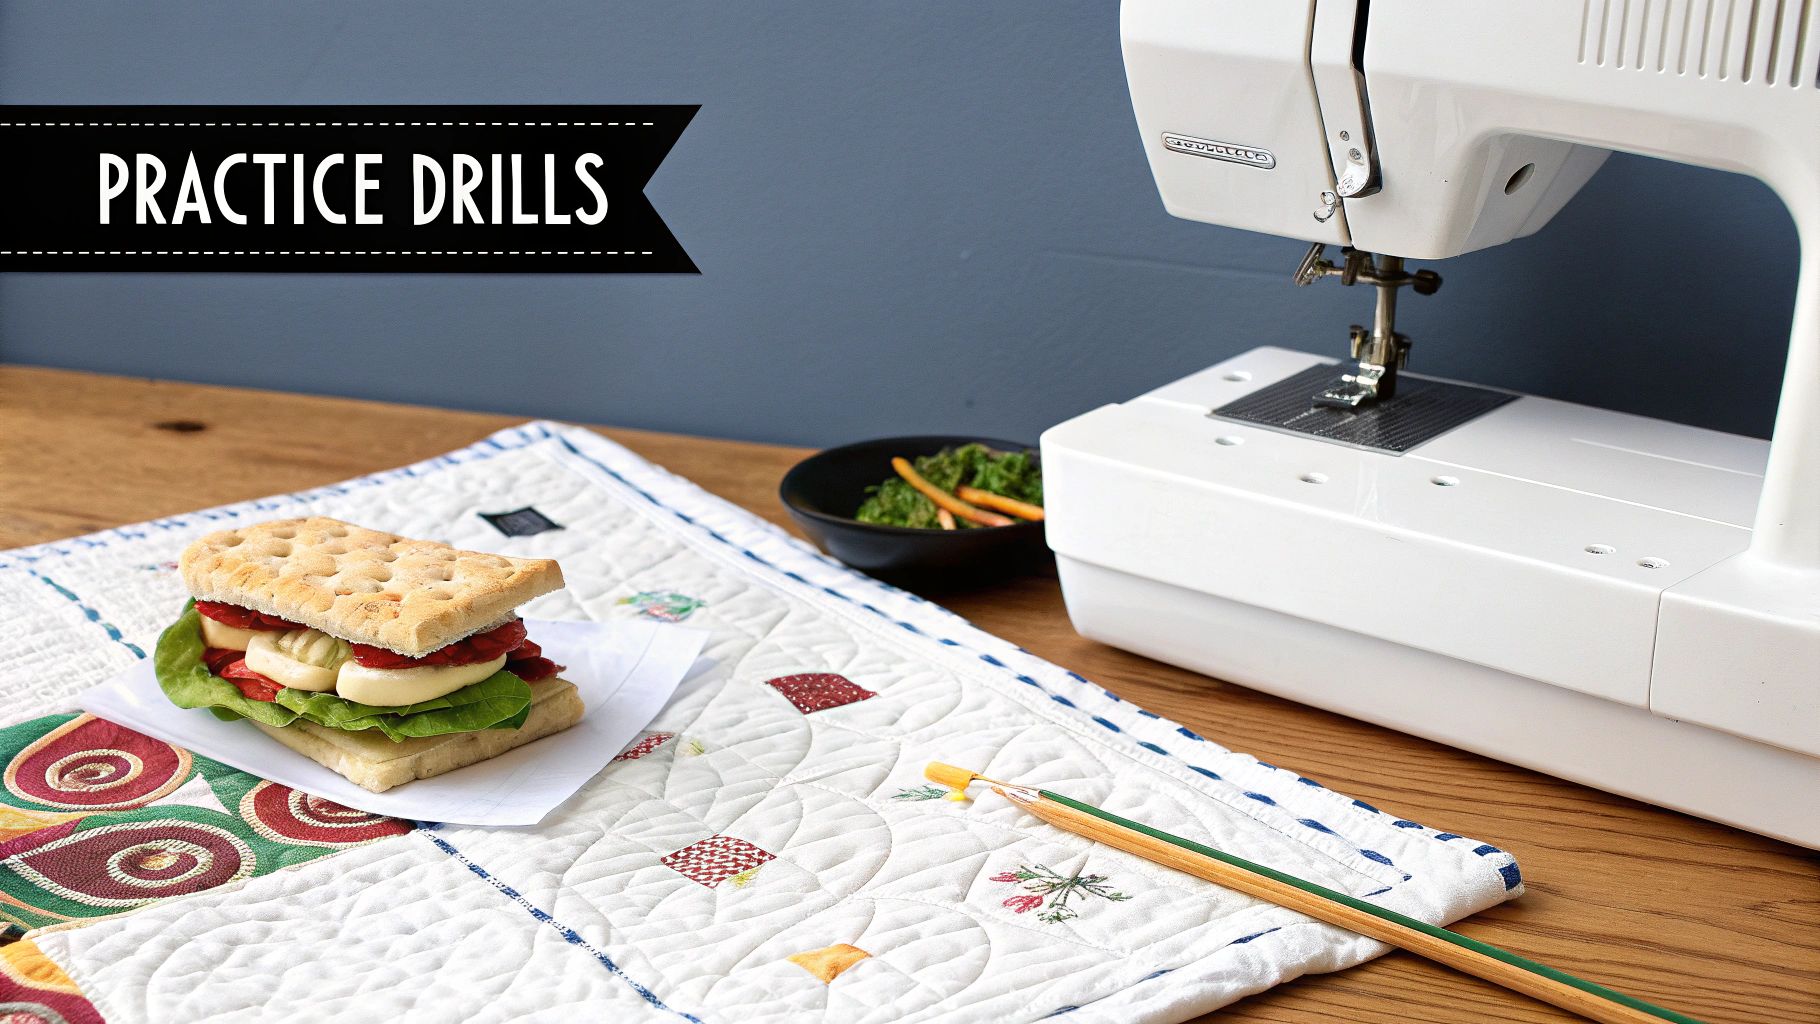
Ready for Your First 5 FMQ Designs? Let's Go!
Alright, this is where the magic really starts to happen. With your machine all set up and a feel for the basic movement, it's time to actually quilt some designs. We’re going to dive into five foundational patterns that I turn to again and again. These are the workhorses of free-motion quilting—easy to get the hang of but so versatile you’ll use them for years.
The goal here isn't perfection. It's about building muscle memory and confidence. The best way I've found to do this is a simple three-step rhythm: doodle it on paper, layer up your quilt sandwich, and then take it to the machine.

Seriously, don't skip the doodle step! Sketching the pattern first hardwires the movement into your brain, making the real quilting feel surprisingly more intuitive.
The Meander (or Stipple)
Every free-motion quilter starts here, and for good reason. The meander, often called a stipple, is the ultimate beginner-friendly pattern. Just picture drawing one long, meandering line that never, ever crosses itself. It should look a bit like a jigsaw puzzle or brain coral.
It’s my go-to for an all-over design that quickly secures the quilt layers and gives you that soft, crinkly texture we all love. It’s incredibly forgiving, you can make it as big or small as you want, and as long as you keep your lines curvy and avoid crossing over, you literally can't do it wrong.
Playful Loops
Next up, let's add some bounce with loops. This one feels so fun and rhythmic once you find your groove. You’ll stitch a smooth, curving line and then simply loop back around on yourself, either to the left or right.
- Why I love it: Loops cover a quilt top faster than a dense meander and inject a wonderful sense of movement and energy.
- A little tip: Try to vary the size and direction of your loops. It keeps the design from looking too repetitive and gives it a more natural, hand-drawn feel. Trust me, everyone’s first loops look like a pile of wiggly carrots. That’s totally normal!
Remember, the machine is just doing one job: moving the needle up and down. You are the artist, creating the design by moving the quilt. The speed of your hands controls the stitch length, so focus on finding a smooth, steady rhythm.
Organic Pebbles
Want to create some seriously delicious texture? Pebbles are your answer. The idea is simple: you stitch a bunch of circles or ovals in different sizes, nestling them right up against each other. Because this pattern is so dense, it's perfect for making a specific area lie flat, which in turn makes the unquilted parts of your quilt really pop.
This is a fantastic exercise for building control, since you have to stop and change direction for every single circle. My advice? Start with bigger pebbles—maybe the size of a quarter—and then challenge yourself with smaller ones as your confidence grows.
Simple Grids and "Straight-ish" Lines
Who says free-motion quilting has to be all curves? Laying down a simple grid or a series of wavy, parallel lines is a fantastic skill to have in your back pocket. They won’t be perfectly straight like you’d get with a walking foot, but that's the point! These "straight-ish" lines have a beautiful, organic quality that I absolutely love.
This is a brilliant choice for modern quilts or for adding a bit of structure to blocks and borders. It’s also an amazing way to practice moving your quilt sandwich in one consistent direction. If you're looking for more ways to tackle those edges, you can find great inspiration in classic border quilting patterns that are easy to adapt for free-motion.
Elegant Echoing
Echoing is less of a pattern and more of a powerhouse technique. You just stitch a line that mimics, or "echoes," the shape of a piece of fabric or an appliqué design, usually about 1/4-inch away.
You can do a single echo line or add two or three to really make an element stand out. It’s a sophisticated way to highlight your piecing and add that custom-quilted look without having to master a complicated new design. Plus, it trains your hands to follow a specific line, a crucial skill for more advanced quilting later on.
Get Better, Faster: How to Practice FMQ
Let's be real—the secret to gorgeous free-motion quilting isn't some magic gift. It's practice. But not just any practice. You’ll see the biggest jumps in your skill from smart, intentional drills that build muscle memory, not from hours of aimless stitching.
This is your roadmap to getting comfortable and confident behind the needle, fast.
The absolute best place to start isn't even at your sewing machine. It’s with a pen and paper. Seriously. Doodling your design, whether it's a simple meander or a bunch of loops, is the most important first step. You're training your brain and your hands to make the shapes smoothly before you ever have to worry about fabric, thread, or machine speed.
Create Your Practice Playground
Once you've got the doodling down, it's time to fire up the machine. But please, for the love of fabric, step away from that beautiful quilt top you just finished! Your first attempts should be on low-stakes "practice sandwiches" made from scraps you don't care about.
Here's how to build them:
- Top Layer: Grab any old scrap fabric, an orphan block you'll never use, or even a cheap fabric panel. The goal here is practice, not a masterpiece.
- Batting: Slice up leftover batting into easy-to-handle squares. Something around 12x12 inches is perfect.
- Backing: This is the ideal time to finally use that "what was I thinking?" fabric hiding at the bottom of your stash.
Having a stack of these ready to go is incredibly liberating. It removes all the pressure and fear of "wasting" the good stuff. You can experiment, mess up your tension, and find your groove without a care in the world. This is where the real learning happens.
Don't chase perfection right now—chase consistency. The real goal is to get your hand speed and your machine speed working together. Even stitches are what you're after. Smooth is always better than fast.
The good news is that the learning curve isn't as steep as it looks. Many quilters find they get dramatically better in about two months with a little bit of practice each day. Starting on paper before moving to fabric is a tried-and-true method that cuts down on a lot of that initial frustration. If you want to see this in action, there are some fantastic how-to guides from quilting experts that break it down beautifully.
Drills That Actually Work
Ready to level up? Move beyond just random wiggles and focus on drills that target specific skills. Quilting with intention is how you build real control.
-
Mastering Your Speed: Try quilting a series of roughly straight lines across your practice sandwich. Your whole focus should be on keeping your hands and your foot pedal moving at a steady, synchronized pace. This is ground zero for getting those nice, even stitches.
-
Finding Your Flow with Curves: Practice quilting big, sweeping S-curves from one side of your fabric to the other. This drill is fantastic for getting you comfortable with moving the quilt sandwich in every direction and building that fluid motion you're looking for.
-
Nailing Starts, Stops, and Turns: Quilt a basic grid of squares. Now, challenge yourself to fill each square with a different simple pattern, like loops in one, pebbles in another. This forces you to practice stopping, starting, and changing direction cleanly inside a defined space—a skill you'll use constantly.
Choosing The Right Batting For Your Quilts
Think of batting as the unsung hero of your quilt. It's the cozy filling in your quilt sandwich, and your choice here will make a huge difference in how your quilting feels and how the finished quilt looks. Let's make sure you pick one that makes your stitches really shine.
When you're just starting out, you want a batting that’s forgiving and easy to handle. The last thing you need is a fight with your materials! You're looking for something that lets your needle glide through smoothly without a lot of drag. This is exactly why so many seasoned quilters, myself included, will steer you toward an 80/20 cotton/poly blend. Brands like Hobbs make some fantastic ones.
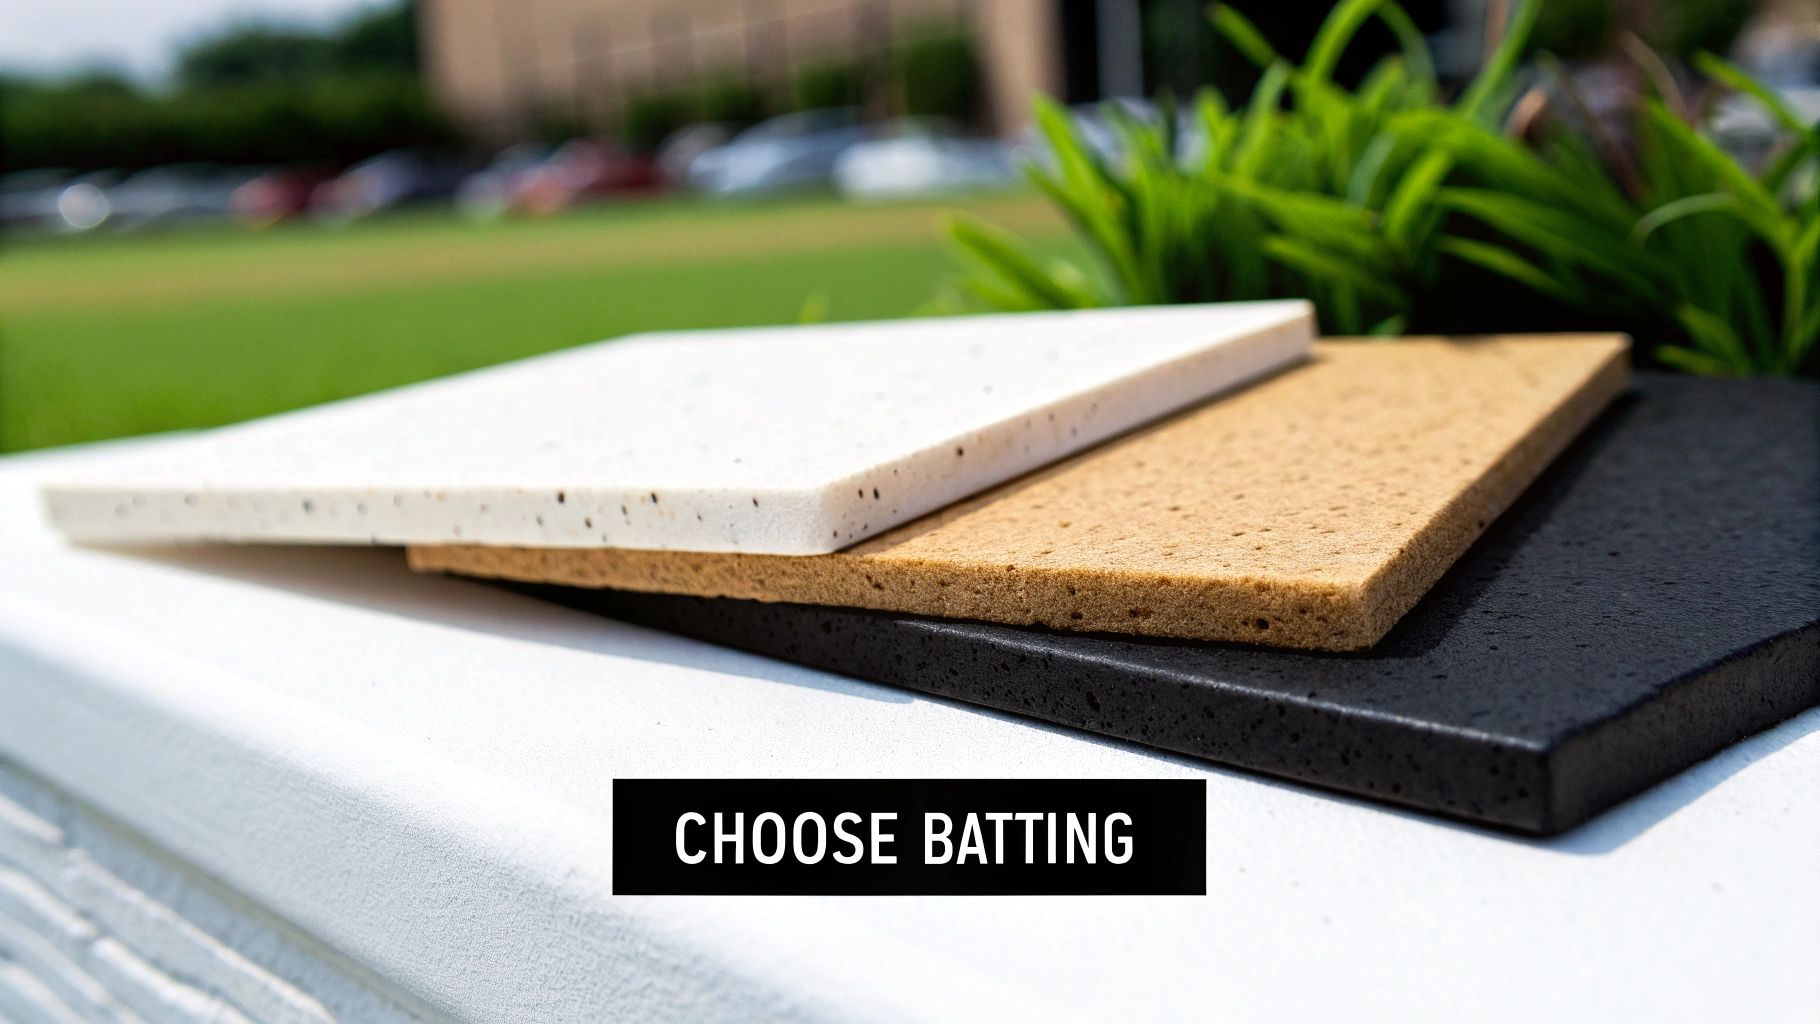
This blend is truly the best of both worlds. You get the soft, natural feel of cotton, but the polyester gives it a little stability and a touch of loft. It creates beautiful stitch definition, which is perfect for making your new free motion quilting patterns for beginners pop.
Understanding Batting Lingo
Walking into the batting aisle can feel a little overwhelming with all the terminology. Don't worry, there are really only two key terms you need to know right away: loft and scrim.
- Loft: This is just a fancy word for thickness or puffiness. A low-loft batting (like 100% cotton) will give you that flat, traditional, crinkly look after it's washed. On the other hand, a high-loft batting (like wool or some polyesters) creates a much puffier, more defined quilt.
- Scrim: This is a super thin, non-woven layer added to one side of the batting. Think of it as a stabilizer. It keeps the batting from stretching or tearing while you quilt, which also means you can space your quilting lines further apart. It’s a fantastic feature for beginners because it adds a ton of durability.
If you want to go deeper into the different materials, you can learn more about the various types of quilt batting to find the perfect match for your next project.
Beginner's Best Bet: Start with a low-to-medium loft cotton blend, preferably one with a scrim. It's the most forgiving option out there, offering great stability and stitch definition without being a pain to handle under your machine.
Once you get a few projects under your belt, feel free to start exploring! A 100% cotton batting will give you that classic, antique quilt finish that so many of us love. If you’re making something where you want incredible texture and warmth, wool is a luxurious choice that makes quilting stitches look absolutely amazing. For smaller projects like placemats or wall hangings, fusible batting can be a total game-changer, adding stability and making the basting process so much easier.
Ultimately, your batting choice is a personal one. But knowing these basics will help you pick one that supports your goals and makes the whole quilting journey a lot more fun.
Getting a Handle on Those Common FMQ Mishaps
Puckers, dreaded thread nests, and stitches that jump from tiny to gigantic in a heartbeat—sound familiar? Welcome to the club! Every single quilter, from seasoned pros to total newbies, has been there. Think of this as your friendly, stress-free guide for when things inevitably go a little sideways.
Mistakes aren't failures; they're just clues telling you what needs a small tweak. Learning to spot these signs is one of the most valuable skills you can build. So instead of reaching for the seam ripper in frustration, let's figure out what your quilt is trying to tell you.
Honestly, most beginner FMQ troubles come down to just three things: tension, speed, and fabric control. Get those sorted, and you'll solve 90% of your problems right off the bat.
Decoding Your Stitches
The number one complaint I hear from new free-motion quilters is about wild, inconsistent stitch length. It’s a classic case of what I call "stop-and-go" quilting.
Your stitch length is all about the relationship between how fast your hands move the quilt and how fast the needle is pumping. It's a dance between your hands and your foot.
- Teeny-Tiny Stitches: Your hands are moving too slowly for your machine's speed. The needle is taking way too many bites in one tiny spot.
- Long, Gappy Stitches: Your hands are flying across the fabric faster than the needle can keep up. You're stretching the distance between each stitch.
The sweet spot is a smooth, steady rhythm where your hands and foot are working together. I know it feels clumsy at first, but I promise it clicks into place with a bit of practice.
The machine isn't the boss—you are. Your only job is to guide the quilt. The needle's only job is to go up and down. True control comes from finding the harmony between those two movements.
Banishing Thread Nests and Puckers
Flipping your quilt over to find a massive bird's nest of tangled thread is practically a rite of passage. It looks catastrophic, but the fix is usually surprisingly simple. Nine times out of ten, you just forgot to lower your presser foot before you started stitching. When that foot is up, there’s no top tension, and all that loose thread gets shoved to the back in a loopy mess.
Puckering, on the other hand, is usually a sign of two things: fabric drag or a poorly basted quilt sandwich. If the weight of your quilt is pulling it off the edge of your table, that drag will cause ripples and tucks in your fabric. Support your entire quilt! If the puckers persist, it's a good time to double-check your basting. Our guide on how to baste a quilt can help make sure your layers are secure from the get-go.
Another classic issue is seeing little loops of thread—often called "eyelashes"—on either the top or bottom of your quilt. This is a dead giveaway for a tension imbalance. A quick tension test on a scrap quilt sandwich before you touch your actual project will save you so much heartache.
A Quick-Fix Guide
When you're in the zone, it's easy to get frustrated when something goes wrong. Keep this little cheat sheet handy to quickly diagnose what's happening and get back to quilting.
Common FMQ Problems and Their Solutions
| The Problem (What you see) | The Likely Cause | How to Fix It |
|---|---|---|
| Huge tangled nest of thread on the back | Forgot to lower the presser foot | Stop, re-thread your machine, and make sure to lower the presser foot before you start sewing again. |
| Stitches are tiny, then suddenly long | Inconsistent speed between your hands and the machine | Practice finding a steady rhythm. Try a medium, constant machine speed and focus on moving your hands smoothly. |
| "Eyelashes" or loops on the quilt top | Top tension is too loose (bottom thread is pulling it through) | Increase your top thread tension slightly (e.g., from 4 to 4.5). Test on a scrap first. |
| "Eyelashes" or loops on the quilt back | Top tension is too tight (top thread is pulling the bobbin thread up) | Decrease your top thread tension slightly (e.g., from 4 to 3.5). Test on a scrap. |
| Fabric is puckering or has small tucks | Fabric drag or an insecure quilt sandwich | Ensure your quilt is fully supported on your table. If it persists, your quilt may need to be re-basted more securely. |
| Skipped stitches or shredded thread | Old or incorrect needle | Change your needle! Use a new Microtex or Topstitch needle, size 80/12 or 90/14. |
Remember, every stitch is part of the learning process. The more you quilt, the faster you'll be able to recognize these little hiccups and fix them without missing a beat.
Answering Your Top Free Motion Quilting Questions
Diving into any new skill feels like opening a floodgate of questions, and free motion quilting is no exception. It’s totally normal! I’ve pulled together some of the most common questions I get from quilters who are just starting out. Let’s tackle these head-on so you can get quilting with confidence.
Think of this as a chat over a cup of coffee, where I'm sharing the straight-up answers to get you unstuck and back to your machine.
Do I Really Need a Fancy Sewing Machine?
Let's bust this myth right now: absolutely not! You don’t need to spend a fortune on a top-of-the-line, computerized machine to make gorgeous free motion designs. The single most important feature, the one that’s a complete non-negotiable, is the ability to drop your feed dogs. That’s what lets you take control and move the quilt in any direction you want.
Sure, a bigger throat space (that’s the room to the right of your needle) is a nice bonus, but it's not a dealbreaker when you're just getting started with smaller practice sandwiches. The best machine is one you know and feel comfortable with.
Why Are My Stitches All Over the Place?
Oh, the dreaded uneven stitch. Welcome to the club! This is, without a doubt, the most common frustration for every single beginner. It almost always boils down to one thing: the rhythm between how fast your hands are moving and how fast your machine is sewing. It's a delicate dance between your hands and your foot on the pedal.
- Got tiny, tight, knotty-looking stitches? Your machine is running way faster than your hands are moving. Slow that foot down!
- Seeing long, gappy stitches? Your hands are outrunning the machine. Give it a little more gas.
The goal here isn't perfection right out of the gate; it's about finding a comfortable, consistent pace. Try to lock in a medium machine speed and then focus only on moving your hands in a smooth, even motion. Slow and steady wins this race.
Remember, your only job is to move the quilt. The needle’s only job is to go up and down. Free motion quilting is just the art of finding the perfect harmony between those two simple actions.
What’s the Best Thread and Needle to Start With?
When you’re just starting, keep it simple. The world of thread and needles is massive, but you don’t need to get lost in it. A high-quality 40 or 50-weight 100% cotton thread is your new best friend. It’s reliable, plays nicely with most machines, and looks fantastic on a quilt.
As for needles, always start a project with a fresh one. A dull needle causes a surprising number of problems, from skipped stitches to shredded, tangled thread. I recommend a size 80/12 or 90/14 Microtex or Topstitch needle. Their sharp points create a clean, crisp puncture through your quilt sandwich. It’s a small detail that makes a huge difference.
Can I Actually Quilt a Big Quilt on My Little Home Machine?
You bet you can! It just requires a little bit of planning and quilt-wrangling. The whole game is about managing the bulk so it doesn't create drag on your needle, which leads to puckers and wonky tension.
Here’s how to set yourself up for success:
- Support the Weight: Don't let your quilt fall off the edges of your table. Make sure it's fully supported by your sewing table or an extension table to prevent it from pulling.
- Roll, Don't Bunch: Instead of just stuffing the quilt through the machine's throat, tightly roll the sections you aren't working on. Secure the rolls with quilting clips or even some simple hair ties. This keeps things compact and much easier to move.
- Start in the Middle: Always, always begin quilting in the center of the quilt and work your way out toward the edges. This helps you smooth out any fullness and avoid trapping ugly puckers in the middle.
Ready to give your stitches the perfect foundation? At Quilt Batting, we focus on high-quality, beginner-friendly batting that truly makes your quilting shine. Check out our selection of Hobbs 80/20 blends and other top-tier options to give your quilts that beautiful, professional finish they deserve. Find your perfect roll today at our online quilt batting shop.