

Have you ever looked at your embroidery machine and wondered if it could do more than just monogram towels? I'm here to tell you it can. The answer is a resounding yes, you can absolutely quilt with an embroidery machine, and it’s a total game-changer for getting that professional, consistent look we all crave.
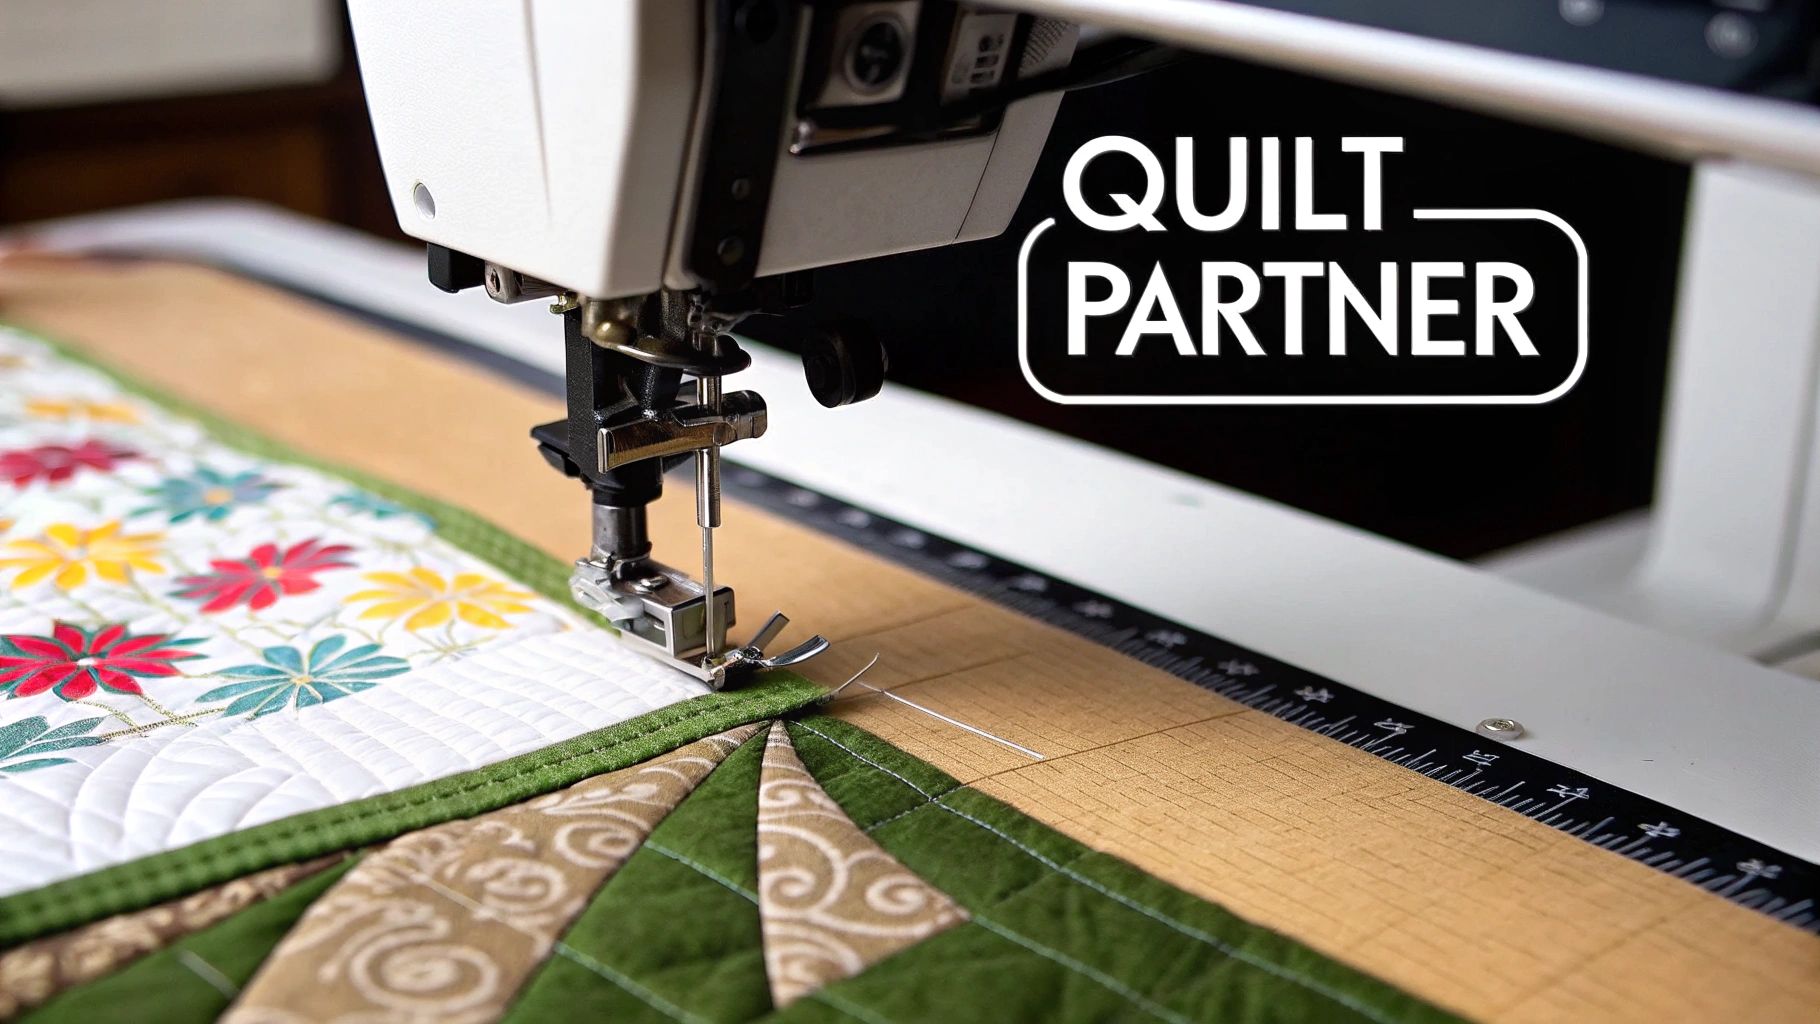
Think of it as having a tiny, automated longarm right in your sewing room. It takes the intricate, repetitive stitching work off your shoulders and executes it flawlessly, letting you create stunning quilts with just the press of a button. This guide is all about turning that machine into your new favorite quilting partner.
Your Embroidery Machine Is Your New Quilting Partner
It’s easy to pigeonhole an embroidery machine as a tool for personalizing baby blankets. But its real power shines when you use it for the quilting itself—the process of stitching through your top, batting, and backing to hold it all together. This method beautifully bridges the gap between wrestling a big quilt through your domestic machine and sending it off to a longarm quilter.
Just imagine it: an entire quilt top filled with perfect stippling, geometric patterns, or intricate motifs, all with ideal tension and stitch length. Every block is a perfect match. That’s what quilting with an embroidery machine delivers.
The Core Advantages of This Technique
The benefits here are huge, and they go way beyond just saving a little time. This approach fundamentally changes what’s possible for quilters at home, especially if you don't have the space or budget for a massive longarm setup.
Here’s why I think you'll love it:
- Flawless Consistency: The machine stitches each pattern identically every single time. No more wobbles, no more human error—just a polished, professional finish.
- Access to Complex Designs: You can finally tackle those gorgeous, intricate designs that would be a nightmare to free-motion quilt by hand.
- Reduced Physical Strain: Say goodbye to wrestling a king-sized quilt under a tiny machine throat! You only have to manage one hooped section at a time, which is a massive relief for your shoulders, neck, and back.
By hooping smaller, manageable sections, you maintain complete control over the fabric. This prevents the fabric drag and pulling that so often leads to skipped stitches and needle breaks when you're fighting a large project on a domestic machine.
Ultimately, quilting with your embroidery machine is about working smarter, not harder. It automates the most labor-intensive part of the process. That frees you up to focus on the fun stuff—playing with fabric and bringing your creative vision to life. Let’s walk through how to make it happen.
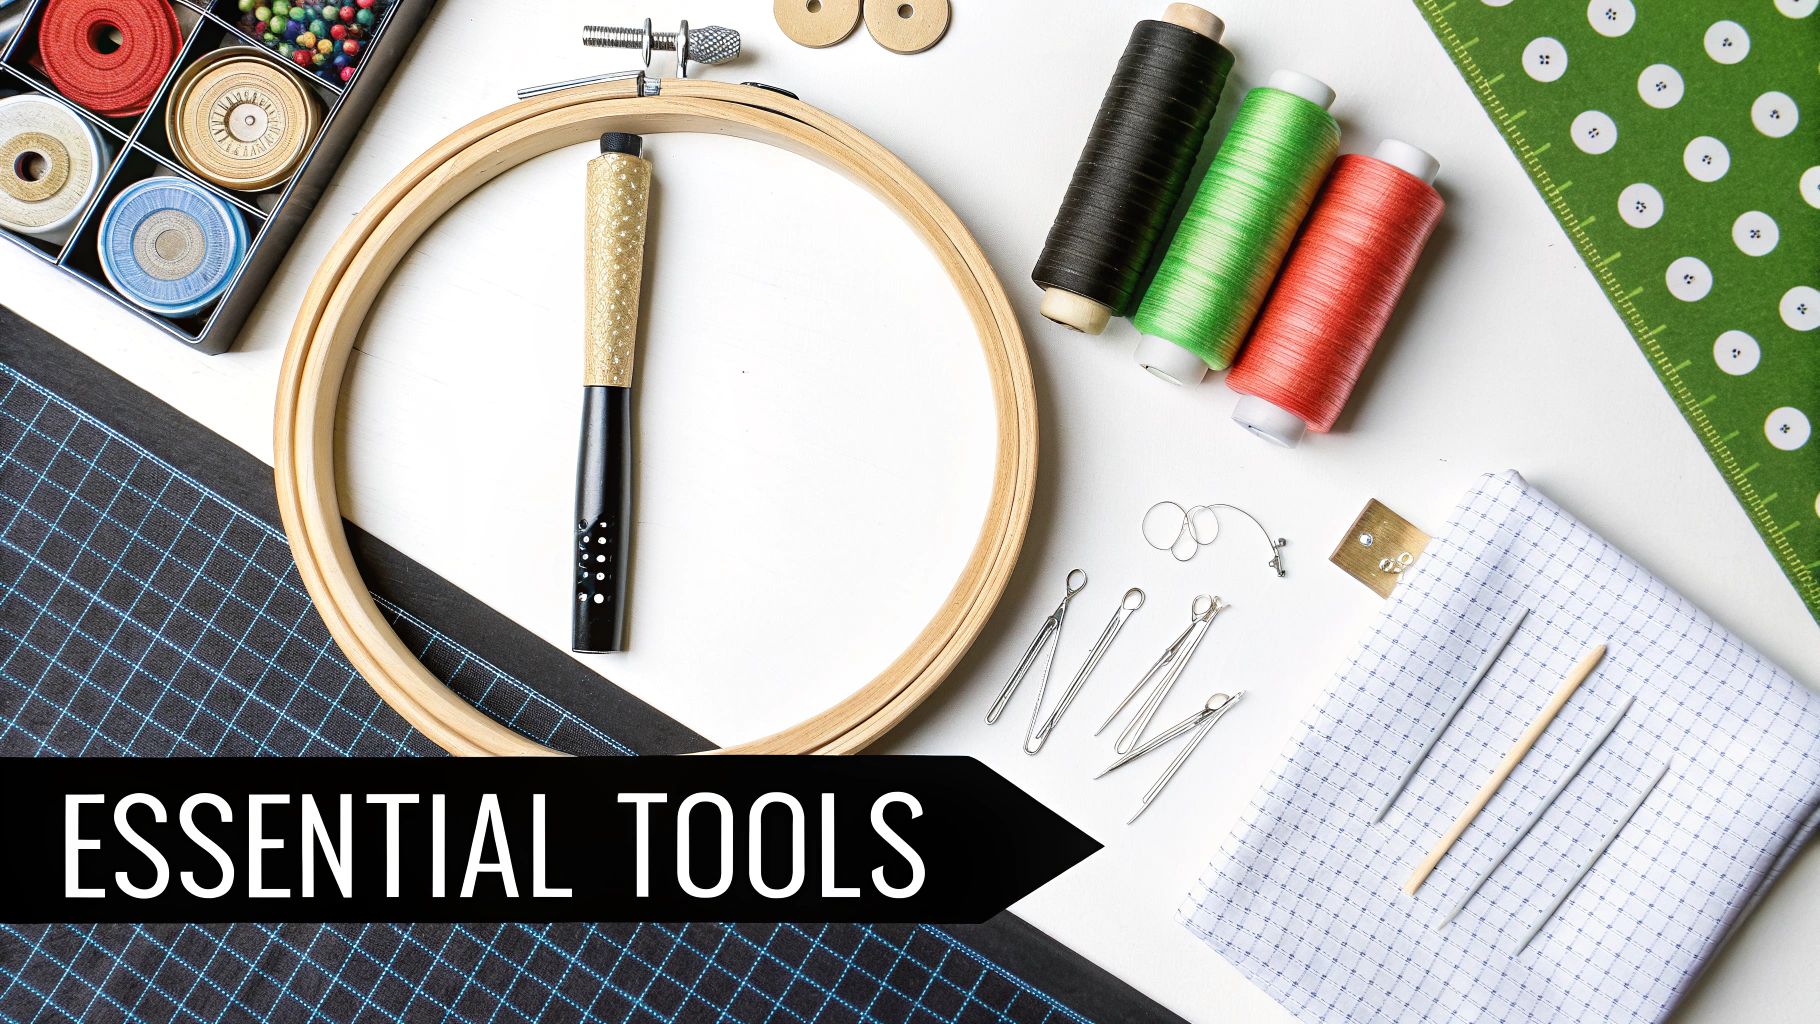
Gathering Your Essential Tools And Materials
Before you even thread your machine, your success is hiding in plain sight—right in your supply drawer. When you quilt with an embroidery machine, a few key choices can spell the difference between a frustrating afternoon and a project you’re proud to show off.
It’s about more than just pretty fabric and a cool design. Think of it as building a team. Your thread, needles, stabilizer, and batting all have to work together perfectly. Get one part wrong, and the whole project can feel like a struggle.
Building Your Core Toolkit
Let's get your shopping list sorted. These are the absolute must-haves that will save you from common headaches like skipped stitches or snapped threads before they even have a chance to start.
-
Embroidery Hoops: The largest hoop your machine can handle is often your best friend. It lets you stitch bigger design areas and means you have to re-hoop less often, which is always a win. That said, a smaller hoop that fits your quilt block snugly can give you much better tension. Having a couple of sizes on hand gives you the flexibility to tackle any project.
-
Needles: Please don't grab a standard sewing needle for this! You need a size 80/12 or 90/14 embroidery or topstitch needle. They have a larger eye that stops your thread from shredding and a sharper point built to pierce through your quilt sandwich—top, batting, and backing—cleanly.
-
Thread: A good quality 40wt polyester embroidery thread is my absolute go-to. It’s strong enough to handle high-speed stitching and has a beautiful sheen that makes your quilting patterns pop. Save your cotton piecing thread for piecing; it just isn't designed to take the stress of machine quilting.
The Decisive Factor: Your Quilt Batting
Of everything you choose, your batting has the single biggest impact on the final look, feel, and drape of your quilt. The wrong batting can turn your project into a stiff, unyielding board or, worse, cause so much drag in the hoop that your stitch quality goes right out the window.
Choosing the right batting is so important it has fueled a massive industry. It’s no surprise when you see how technology is blending with tradition—the global quilting market hit an estimated $4.5 billion in revenue, partly because embroidery machines are making high-end quilting more accessible. For more on this, check out the 2025 Quilting Trends Survey findings on craftindustryalliance.org.
The loft and fiber content are what really matter here. A fluffy, high-loft polyester batting, for instance, is often too springy to hoop securely. On the other hand, a thin, stable cotton blend provides the perfect, reliable foundation.
Pro Tip: When in doubt, start with a low-to-medium loft cotton or cotton-blend batting. It’s the safest and most reliable choice for machine embroidery quilting, giving you great stability without adding too much bulk in the hoop.
To help you narrow it down, let’s look at a few of my favorites from Quilt Batting and see where they shine.
Choosing The Right Batting For Your Embroidery Quilt
| Batting Type | Key Feature | Best For | Pro Tip |
|---|---|---|---|
| Hobbs 80/20 Cotton-Poly Blend | Soft, beautiful drape, and minimal shrinkage. | All-purpose quilting, from baby quilts to bedspreads, offering a traditional feel. | This is the workhorse of the quilting world. Its stability and softness make it perfect for beginners. |
| 100% Cotton with Scrim | Strong and stable due to a thin scrim binder, preventing stretching. | Projects with dense quilting or those requiring extra durability and crisp stitch definition. | The scrim provides excellent support, minimizing distortion during the aggressive push-and-pull of hooping. |
| Fusible Batting | Features a heat-activated adhesive on both sides for easy basting. | Quilters who want to avoid spray basting or pins entirely. Great for smaller projects like wall hangings. | Press with a hot, dry iron to create a stable quilt sandwich that won’t shift during embroidery. |
Each of these brings something unique to the table. Getting this one element right is truly the most important step in your prep work. If you want to explore even more options, our complete guide covers all the different types of quilt batting out there.
Getting Your Quilt Sandwich Ready for the Hoop
Let’s be honest: a perfect stitch-out doesn't just magically happen. The real secret to success when you quilt with an embroidery machine is all in the prep work, and that starts with a flawlessly assembled quilt sandwich. This is your chance to head off frustrating problems like puckers, shifting, and wrinkles before they ever get near your needle.
If you’re used to traditional pin basting, you’ll need to set that technique aside for this. Pins, even the finest ones, create little bumps that prevent your embroidery hoop from gripping the fabric evenly. That slight unevenness is all it takes to throw off your tension and distort your beautiful design. We need something better.
Building a Foundation That Won't Budge
The goal here is simple: get your quilt top, batting, and backing to act like a single, unified piece of fabric. When they're bonded together, the layers can't shift around under the pull of the embroidery stitches—which is the number one cause of puckering. I have two go-to methods that work beautifully: spray basting and fusible batting.
- Spray Basting: A quick and effective way to get the job done. A light mist of temporary adhesive spray bonds the layers together, creating a smooth, flat surface that's perfect for hooping. Just remember to work in a well-ventilated space and go easy on the spray; too much can make your needle gummy.
- Fusible Batting: This is my favorite "set it and forget it" solution. Fusible batting, like the great options from Pellon, has a heat-activated adhesive on both sides. You just layer everything up, press it with an iron, and you've created a secure bond with absolutely no mess.
Both of these are worlds better than pinning for machine embroidery quilting. If you want to really nail the technique for a perfectly smooth result, our guide on how to baste a quilt breaks it down with detailed, step-by-step instructions.
The trick is to create a bond that’s strong enough to stop any movement while you’re hooping and stitching, but not so stiff that it ruins the final drape of your quilt. A perfectly basted quilt sandwich should feel like one solid piece of fabric.
Don't Skip the Stabilizer
Once your quilt sandwich is basted, there’s one more layer you absolutely cannot skip: the stabilizer. This is non-negotiable. Stabilizer is what gives your fabric the backbone it needs to handle the push and pull of the embroidery arm. Without it, the fabric will stretch and warp, leaving you with gapped stitches and a pattern that just doesn’t line up.
You'll place the stabilizer right underneath your quilt sandwich before hooping all the layers together. The right type really depends on your project and how you want to handle the finishing touches.
Picking the Right Stabilizer for the Job
Most of the time, you'll be choosing between tear-away and wash-away stabilizers. They both do a great job, but they have different strengths.
| Stabilizer Type | Description | Best For | Pro Tip |
|---|---|---|---|
| Tear-Away | A paper-like material that you simply tear away from the back of your stitching when you're done. | General quilting with light to medium stitch density. It’s fast and incredibly easy to remove. | I always go for a medium-weight tear-away. The lighter stuff sometimes isn't strong enough for a thick quilt sandwich. |
| Wash-Away | This stabilizer dissolves completely in water, leaving nothing behind. You can find it in both film-like and fabric-like styles. | Delicate fabrics or really intricate designs with lots of tiny, separate stitches that would be a nightmare to tear around. | This is the one I reach for when working on an heirloom quilt. It guarantees the softest possible finish. |
For most of your quilting projects, a good medium-weight tear-away stabilizer is the perfect place to start. It gives you plenty of support and cleans up in seconds. But if you're making a show quilt or working with very fine fabrics, a wash-away stabilizer will ensure your finished quilt is as soft and flexible as it can be.
With your quilt sandwich perfectly basted and stabilized, you're finally ready for the fun part—getting it in the hoop
Mastering The Hooping And Quilting Process
This is where all your careful prep work pays off. With a perfectly layered and stabilized quilt sandwich, you’re finally ready to let your embroidery machine work its magic. The real secret to a stunning finish when you quilt with an embroidery machine is all about being methodical as you hoop and stitch, making sure every section lines up beautifully with the next.
First, think about the quilting design itself. Are you going for an edge-to-edge, continuous pattern that flows across the whole quilt? Or do you want to feature distinct motifs centered in each block? Edge-to-edge designs give you that cohesive, professional texture, while individual motifs are brilliant for highlighting specific piecing or adding a truly custom touch.
The Art of Perfect Hooping
I can't stress this enough: proper hooping is the most critical step in this entire phase. It’s more of an art than a science, really. Your goal is to get the quilt sandwich taut and smooth inside the hoop, but never stretched. If you pull the fabric too tight, you’re just asking for trouble—it will create distortion, and your block will pop back into a puckered mess the second you take it out of the hoop.
Gently press the inner hoop into the outer one, smoothing out the layers to make sure there are no sneaky wrinkles. The surface should feel firm, almost like a little trampoline, but the fabric itself shouldn't look warped. This secure grip is what stops the layers from shifting and gives your machine the stable canvas it needs to stitch with absolute precision.
This diagram shows how your three layers—the top, batting, and backing—come together to create the "quilt sandwich" you'll be hooping.
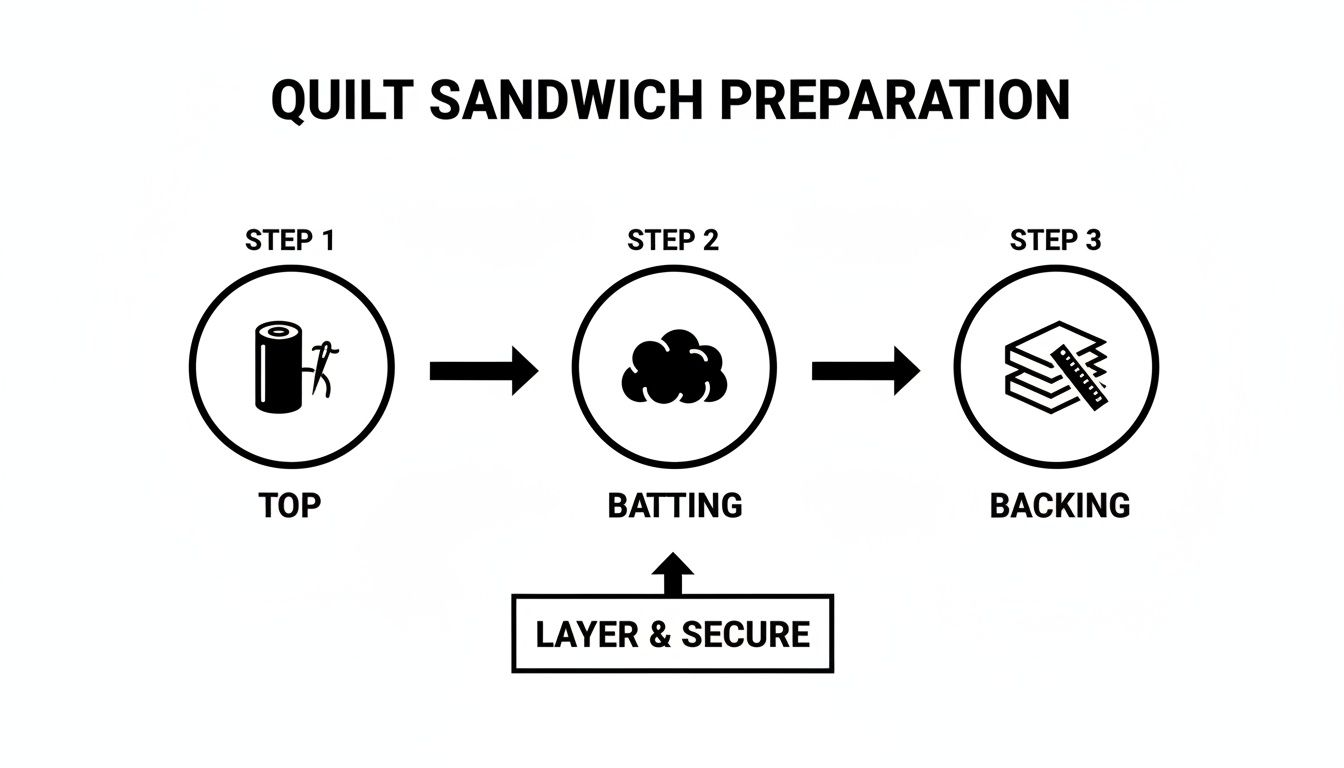
Getting these layers secured properly before they ever see the hoop is what sets you up for a smooth, pucker-free quilting experience.
Aligning Designs for a Seamless Finish
For any quilt larger than your biggest hoop, you're going to be re-hooping and stitching in sections. This is where your machine's placement and positioning features become your best friends. Most modern embroidery machines have fantastic tools to help you line up the start of a new design perfectly with the end of the last one.
You might use printed templates, on-screen grids, or even built-in cameras. Whatever your machine offers, take your time with this step. A few extra minutes spent getting the alignment just right is so much better than the frustration of seeing a noticeable gap or overlap in your quilting later. My advice? Practice on a scrap sandwich first to get a feel for your machine's specific alignment tools.
My Personal Tip: I always, always use the basting function on my machine. It adds a large running stitch around the design's perimeter, temporarily locking all the layers together within the hoop. It’s a fantastic bit of insurance against shifting, especially when I’m working with thicker battings.
This kind of precision is exactly why automated quilting has become so popular. The global sewing machine market, which is projected to hit $6.41 billion by 2031, is booming thanks to quilters embracing this technology. Growth is especially strong in the Asia-Pacific region, expected to claim 50.60% of market revenue by 2025, with automated models seeing a 6.62% CAGR. Quilters everywhere are using these advanced machines to create incredibly intricate quilts that rely on high-quality battings for that perfect finish. You can discover more insights about the sewing machine market on mordorintelligence.com.
Dialing In Your Machine Settings
Okay, before you hit that "start" button, a few quick tweaks to your machine settings will make all the difference. A thick quilt sandwich creates way more friction and drag than a single piece of fabric, and you need to account for that.
-
Stitch Speed: Slow it down! It's tempting to let the machine fly, but dropping the speed by 25-40% seriously lowers the risk of thread breaks and skipped stitches. A slower speed gives the needle enough time to form a perfect stitch through all those layers.
-
Tension: You’ll likely need to loosen your top thread tension just a bit. The quilt's thickness can pull the top thread tighter, which might cause your bobbin thread to peek through on top. Stitch a small test line and check the back—you want to see those threads meeting neatly in the middle of the batting.
These are just starting points. Don't be afraid to experiment! Every combination of thread, fabric, and batting behaves a little differently.
Troubleshooting Common Quilting Issues
Even with the best preparation, things can sometimes go sideways. Here’s how to tackle the most common problems like a pro.
-
Thread Breaks: The most frequent headache. First thing to do? Change your needle. A dull needle is the number one culprit. Next, re-thread your entire machine, from the spool all the way down, making sure the thread isn't caught on anything. If it still breaks, slow your machine down even more.
-
Registration Errors: If your designs aren't lining up between hoopings, the problem is almost always hooping itself. Make sure your quilt sandwich is taut but not stretched, and double-check that you're using your machine's alignment tools correctly. Consistency in your hooping tension is everything.
-
Skipped Stitches: This is usually another needle issue. Check that you're using the right size and type of needle (an 80/12 or 90/14 Embroidery needle is a good bet). If that doesn't fix it, your hooping might be too loose, which lets the fabric bounce up and down with the needle.
While your embroidery machine is a powerhouse for complex, curvy patterns, sometimes a project just calls for the clean, classic look of straight lines. For those quilts, a different set of skills comes into play. If you're looking to add that specific texture to your work, be sure to check out our complete guide on achieving perfect straight-line quilting. Having both automated and manual techniques in your back pocket will make you a much more versatile and confident quilter.
Finishing Touches For A Professional Look
You’ve made that final stitch and unhooped your quilt for the last time. It’s a great feeling, isn't it? It’s tempting to call it done, but these last few steps are where the real magic happens. This is what separates a nice project from a truly polished, professional-looking quilt.
Your first job is getting rid of the stabilizer you so carefully added earlier. Go slow here. After all that work, the last thing you want to do is rush and accidentally pull or distort your beautiful stitches.
Removing Stabilizers and Squaring Up
If you went with a tear-away stabilizer, you're in good shape. Just support the stitched area with one hand and gently tear the stabilizer away with the other. I find it works best to start from the outside and tear in small, controlled sections toward the center. For those tiny, detailed spots, a pair of blunt-nosed tweezers is a lifesaver—they can get into tight corners without snagging any threads.
For wash-away stabilizers, it's time for a spa day. Give your quilt a nice soak in lukewarm water until the stabilizer completely dissolves. To get the excess water out, gently roll it up in a clean, dry towel and press. Whatever you do, don't wring it out! That’s a surefire way to stretch the fabric and mess up your embroidery.
The goal is to get every last speck of stabilizer out. A clean removal makes the quilt look better, and more importantly, it gives it that soft, cuddly drape you want.
Once the stabilizer is gone and the quilt is completely dry, it's time to square it up. This is an absolutely critical step for getting a crisp, perfect binding. Lay your quilt out on a large cutting mat, grab a long quilting ruler, and use your rotary cutter to trim the edges. I always align my ruler with a seam line from my pieced blocks or a prominent line in the quilting itself. This guarantees my cuts are straight and my corners are perfect 90-degree angles.
Trimming and Binding For a Clean Edge
With your quilt perfectly squared, you can now trim the excess batting and backing fabric. Use your ruler and rotary cutter to trim these layers so they're perfectly flush with your quilt top. This gives you a single, clean edge that makes attaching the binding so much easier.
Think of the binding as the frame for your masterpiece. Whether you attach it by machine for speed and durability or stitch it by hand for that classic, invisible look, a squared-up quilt is your best friend. It’s what prevents those frustrating wavy borders and helps your mitered corners meet flawlessly. A stunningly quilted center deserves an equally beautiful frame. For some creative ideas, check out these border quilting patterns to really make your next project pop.
Washing and Caring For Your Embroidered Quilt
Taking care of a quilt made with an embroidery machine is all about being gentle. You want to protect both the fabric and all those intricate stitches you poured your time into.
Here’s my go-to care routine:
- Washing: Always use a gentle cycle with cold water. I recommend a mild, color-safe detergent. To prevent extra wear and tear, I’ll often pop the quilt in a large mesh laundry bag or just wash it by itself.
- Drying: Heat is the enemy. Tumble dry on the absolute lowest setting possible. Even better, lay the quilt flat to air dry. This is the best way to prevent shrinkage and protect any specialty threads, like metallics, from getting damaged.
- Storage: When you’re not snuggling under it, fold your quilt and keep it in a cool, dry spot away from direct sunlight. The sun can fade colors and weaken threads over time.
These finishing touches are the final act of love for your quilt, ensuring it stays beautiful for years and years to come.
Beyond the Basics: Pro Tips and Business Insights
Once you've got the basics down, this is where the real fun begins. It's time to look past simple quilting patterns and start seeing your machine as a tool for genuine textile art. This is also the point where a beloved hobby can start looking a lot like a profitable small business.
Try thinking about adding more complex textures to your work. For example, you can integrate appliqué pieces right into your quilting blocks before you run the main quilting design, which creates some incredible dimension. Another simple but powerful trick is to play with specialty threads. Just a hint of metallic or a variegated thread can elevate a basic geometric pattern into something truly special—that little bit of sparkle that catches the eye of customers and quilt judges alike.
Turning Your Passion Into Profit
Having an embroidery machine set up for quilting puts you in a perfect position to tap into niche markets that are hungry for personalization. You don't have to just sell finished quilts; you can offer specialized services that people are actively looking for.
- Custom Monogrammed Quilts: These are a huge hit for baby showers, weddings, and big birthdays. Offering to add names, dates, or custom messages turns a beautiful gift into a priceless heirloom.
- Personalized Wedding & Anniversary Gifts: Think bigger than just quilts. You could offer to embroider guest books, ring bearer pillows, or even create a custom quilted wall hanging with the couple's initials and wedding date.
This kind of technology is a major reason the quilting industry is booming. Embroidery machines blend the classic craft of quilting with digital precision, and it's a trend that's pushing the quilt market from $695.84 million in 2024 to a projected $1.15 billion by 2030. This growth is all about software and automated systems that slash production time while enabling incredibly complex designs. It's a fantastic opportunity for small businesses to jump in. You can dig into the full quilt market research and findings on researchandmarkets.com.
Scaling Up Smartly With Bulk Supplies
As you move from one-off passion projects to a steady stream of orders, keeping your costs in check becomes critical. One of the single best financial moves you can make is to stop buying your batting by the package and switch to buying it by the roll.
For a small business, purchasing batting by the roll from a supplier like Quilt Batting isn't just a convenience—it's a core financial strategy. It dramatically lowers your per-project cost, ensures you have consistent, high-quality material on hand, and streamlines your inventory management, allowing you to price your services more competitively and boost your profit margins.
This one change is a classic sign of shifting from a hobbyist mindset to a professional one. It means you’re always prepared for the next order without those last-minute, frantic trips to the craft store. That frees you up to do what you do best: create beautiful, personalized quilts for your clients and build a creative business that lasts.
Got Questions About Embroidery Quilting? You're Not Alone.
When quilters first hear about using an embroidery machine for quilting, the same questions always pop up. Let's walk through some of the biggest concerns I hear all the time. Think of this as a chat with a friend who’s been there, done that, and can help you get started on your next project with confidence.
Can I Really Quilt a King-Sized Quilt on My Little Home Machine?
You absolutely can, and I've seen it done beautifully. It just takes a bit of patience and a smart strategy. The secret is the "quilt-as-you-go" method. You’ll be working in smaller, manageable sections, quilting one block at a time before joining them all together at the end.
The real challenge isn't the quilting itself, but managing the sheer bulk of the fabric. My favorite trick is to roll up the finished parts of the quilt as tightly as I can and secure them with quilt clips. This keeps everything out of the way of the embroidery arm and prevents snags.
My Two Cents: For those really huge projects, do yourself a huge favor and pick quilting designs that don't need to align perfectly from one edge to the next. This one decision removes so much of the stress and makes the whole process way more fun.
What Kind of Embroidery Designs Actually Work for This?
This is a big one. For the best results, you really want to find designs that were specifically created for quilting. You'll often see them labeled as "stippling," "echo quilting," or "edge-to-edge" (E2E) designs. The key difference is their stitch density—it’s much, much lighter than a typical appliqué or fill-stitch design.
Why does that matter? A light density keeps your quilt soft and drapey, not stiff as a board. Simple running stitches and flowing geometric patterns are fantastic. I’d steer clear of anything with heavy, dense satin stitches unless you're just quilting a tiny accent on a pillow. Using those on a full quilt will completely ruin its texture.
Help! My Thread Keeps Breaking! What Am I Doing Wrong?
Thread breakage is the number one frustration, but nine times out of ten, it's a simple fix. Before you panic, just change your needle. A fresh 80/12 or 90/14 embroidery or topstitch needle is your best friend here—it's designed to get through those thick layers without a fight.
Next, slow your machine way, way down. I know it's tempting to go fast, but reducing the speed cuts down on friction and heat, which are the main culprits behind snapped thread. If you're still having issues, unthread and re-thread the entire machine. Sometimes the thread just gets caught on something you can't see.
Finally, don't underestimate the power of a good pairing. A high-quality 40wt polyester embroidery thread combined with a reliable, medium-loft batting like Hobbs 80/20 is my personal go-to for gorgeous, strong stitches without the headache. It’s a combination that just works.
Here at Quilt Batting, we know that what's inside your quilt is just as important as the top. Explore our selection of premium Hobbs and Pellon batting, available by the roll to support your biggest and most ambitious quilting dreams. Find the perfect batting for your next project at quiltbatting.shop.